In Part 3 ,we saw installation of OAM 11gR2,now in this post we shall run the Configuration Wizard to create a new WLS domain and configure the OAM server as part of the domain.
Part 4:
Configuration of Oracle Access Manager 11gR2 on Solaris 10
Step 1) Run MW_HOME/oracle_common/common/bin/config.sh
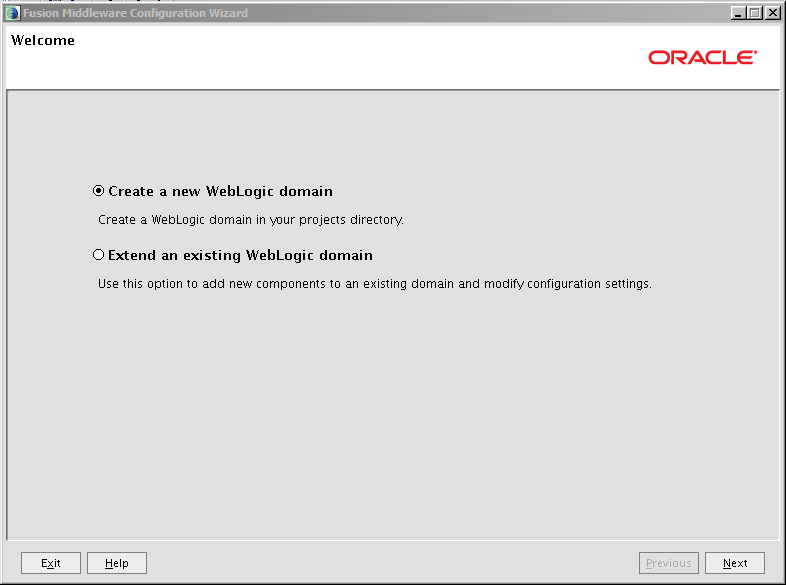
Step 2) Select radio button Create a new WebLogic domain.

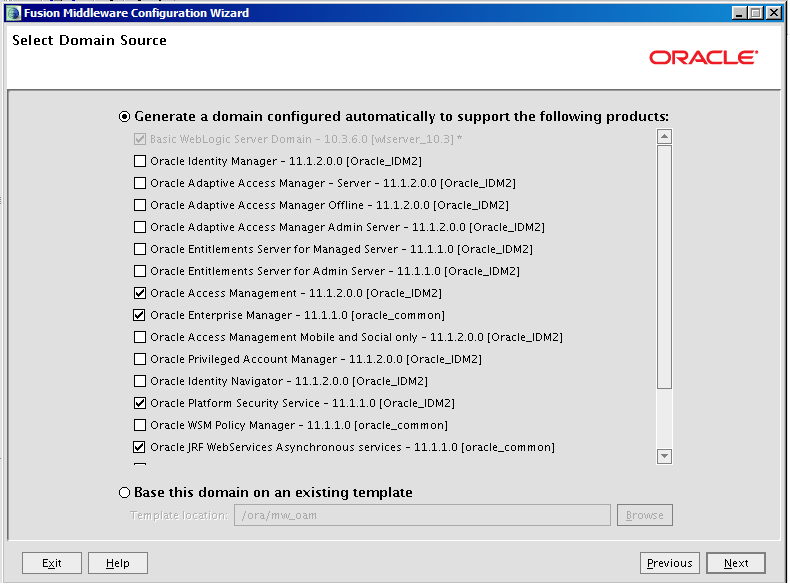
Step 3) Generate a domain configured automatically to support the following products:
• Oracle Access Management – 11.1.2.0.0
• Oracle Enterprise Manager – 11.1.1.0
Note: OPSS & JRF is automatically selected.

Step 4)Enter or Browse domain name and location as below:
Domain name: base_domain
Domain location: /u02/app/middlewareiam/user_projects/domains
Application location:/u02/app/middlewareiam/user_projects/applications

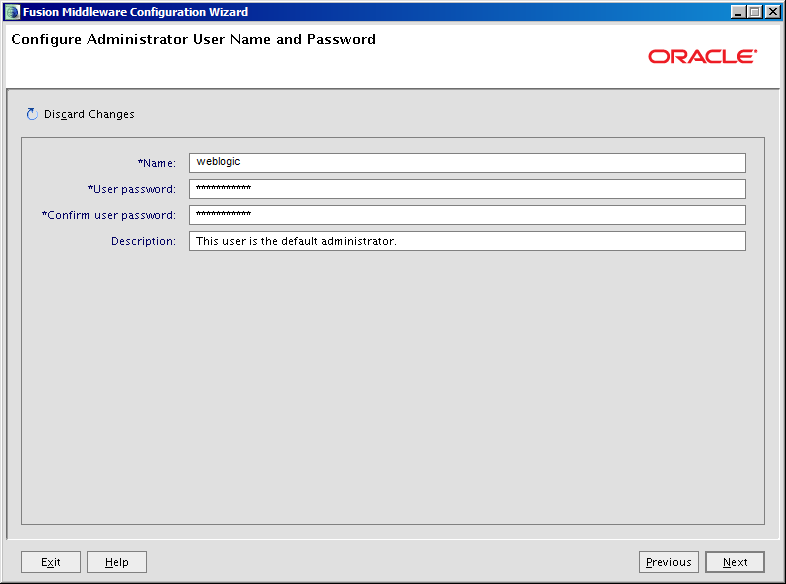
Step 5) Specify password for weblogic user.

Step 6) Select domain mode and appropriate java version
Select Domain Mode as per business requirement
1) Development Mode
2) Production Mode
JDK Selection : Select or browse jdk location which we used at time of installation.

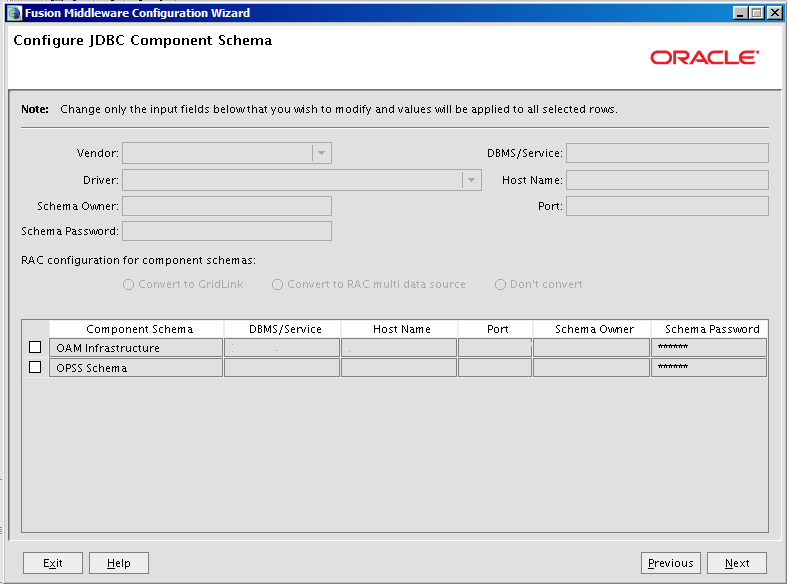
Step 7)Select OAM Infrastructure and OPSS Schema
Vendor: Oracle
Schema Owner : Name of database user that we created at time of RCU.
Schema Password: ******
DBMS/Service: Instance name of Database.
Hostname: Host name of database
Port: Port number where database is listening.


Part 4:
Configuration of Oracle Access Manager 11gR2 on Solaris 10
Step 1) Run MW_HOME/oracle_common/common/bin/config.sh
Step 2) Select radio button Create a new WebLogic domain.

Step 3) Generate a domain configured automatically to support the following products:
• Oracle Access Management – 11.1.2.0.0
• Oracle Enterprise Manager – 11.1.1.0
Note: OPSS & JRF is automatically selected.

Step 4)Enter or Browse domain name and location as below:
Domain name: base_domain
Domain location: /u02/app/middlewareiam/user_projects/domains
Application location:/u02/app/middlewareiam/user_projects/applications
Step 5) Specify password for weblogic user.

Step 6) Select domain mode and appropriate java version
Select Domain Mode as per business requirement
1) Development Mode
2) Production Mode
JDK Selection : Select or browse jdk location which we used at time of installation.
Step 7)Select OAM Infrastructure and OPSS Schema
Vendor: Oracle
Schema Owner : Name of database user that we created at time of RCU.
Schema Password: ******
DBMS/Service: Instance name of Database.
Hostname: Host name of database
Port: Port number where database is listening.

Step 8) Click Test Connections .If successful then click Next. In case of any error please correct it and then proceed.
Step 9) Below are optional configuration .
Select Administration Server and Managed Servers, Clusters and Machines and click Next
Step 10) Click Next
Step 11)Listen address - Specify server details where oam server is installed. Click Next
Step 12) Since we do not want to configure cluster click Next
Step 13)Click Next
Step 14)Click Create to proceed with configuration.
Step 15)Click Done once the configuration completes 100%.