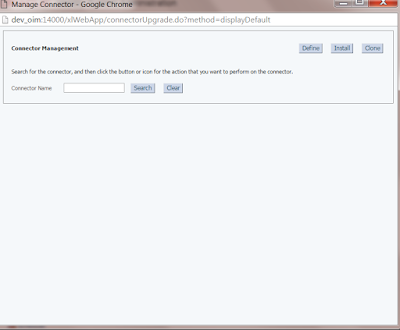
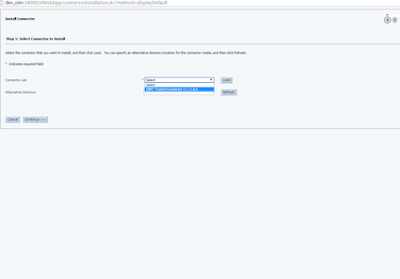
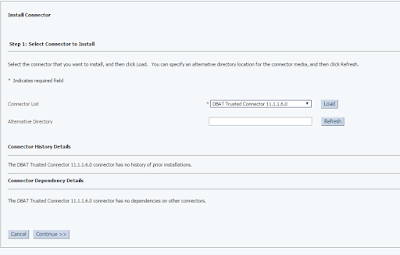
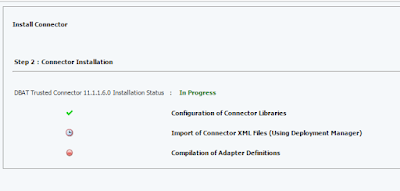
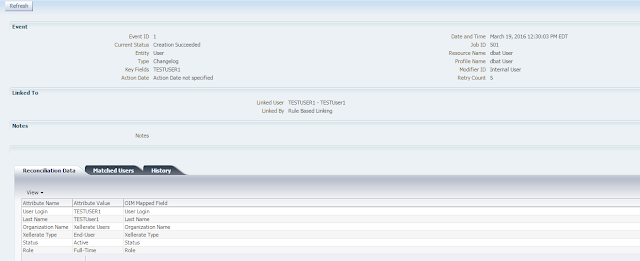
When you create a UDF, it is created only in the back-end, and is not available in the page for use on which you want it to be displayed.
Note:
· Adding a custom attribute is always in relation to one of the following entities: User, Organization, Role, or Catalog.
· When catalog UDFs are customized to show in the first page of the Create Role wizard, they are also shown in the summary page of the wizard. But when role UDFs are customized to show in first page of the Create Role wizard, they are not shown in the summary page of the wizard. The summary page must be separately customized for these role UDFs to be displayed.
To display a UDF in a page in Oracle Identity Self Service
http://www.iamidm.com/2016/03/creating-custom-attribute-in-oim-ps3.html
Please follow the instructions in above link to create custom UDF on the entities User, Role, Catalog or Organization.
After adding a UDF through the User form, logout of both Oracle Identity System Administration and Oracle Identity Self Service, and then login again to be able to see the newly added UDF and use it for customization.
Adding UDF on Create User Form
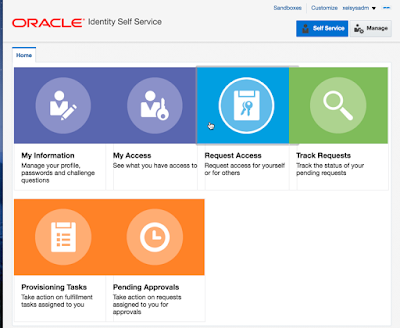
Log in to Oracle Identity Self Service as the system administrator
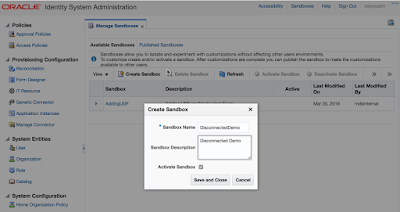
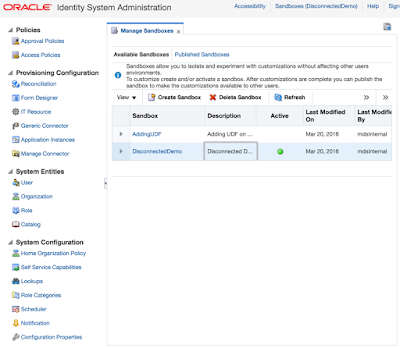
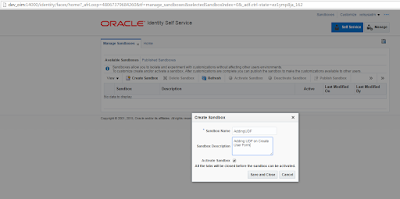
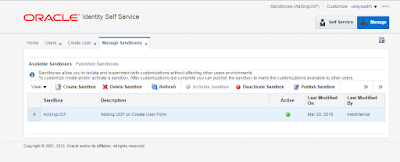
Create and activate a sandbox
To do so, Click on Create and Provide the sandbox name and Descrption
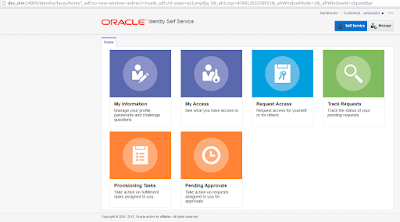
Click Manage. The Home tab displays the different Manage option. Click Users. The Manage Users page is displayed
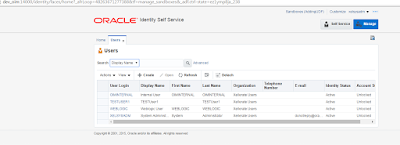
From the Actions menu, select Create. Alternatively, you can click Create on the toolbar. The Create User page is displayed with input fields for user profile attributes
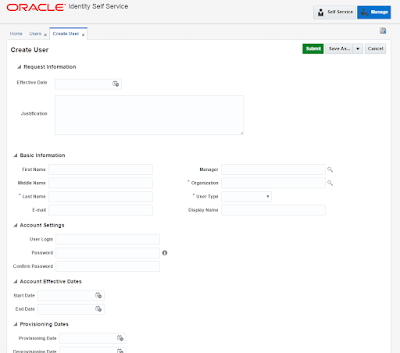
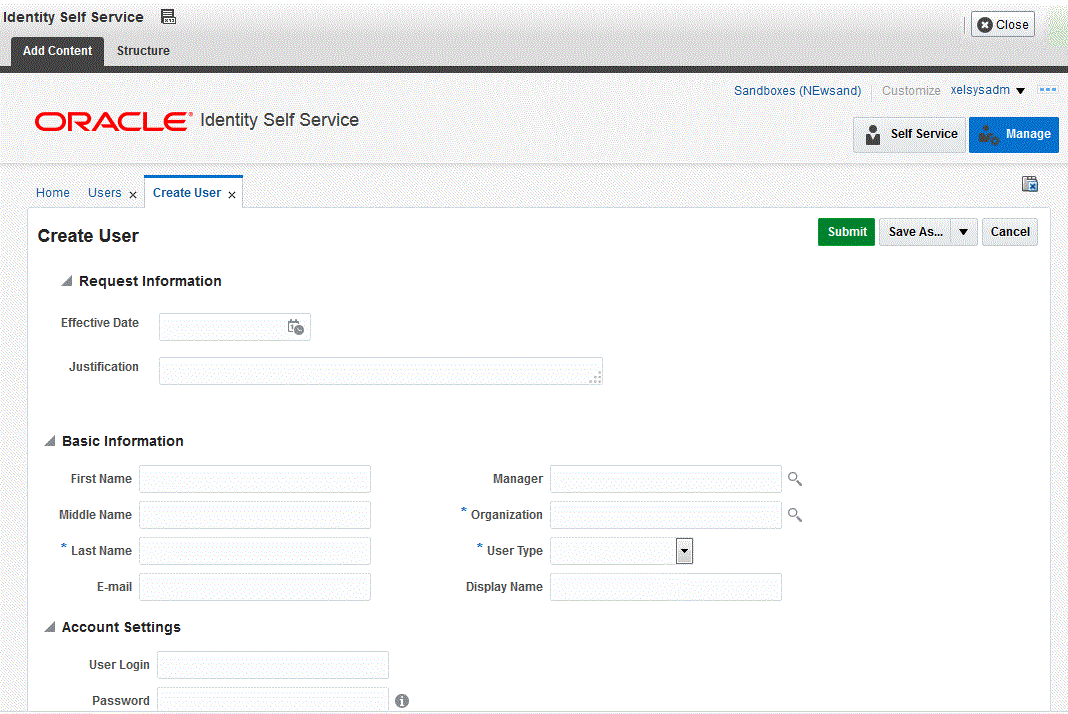
Click Customize at the upper right corner of the page to open Web Center Composer
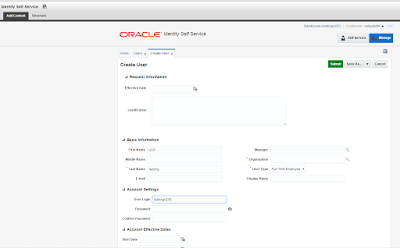
Enter values for all mandatory fields
Select Structure tab
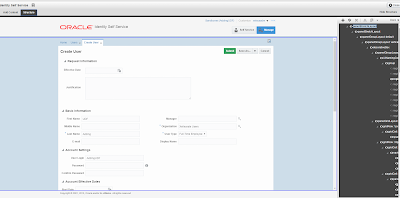
Select the section of the page on which you want to add the UDF
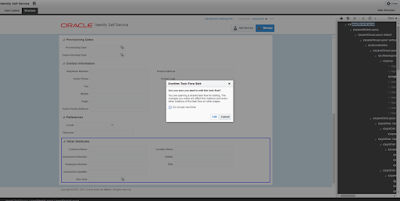
In the Confirm Task Flow Edit dialog box, click Edit to confirm the edit task. The corresponding ADF component in the object tree is selected
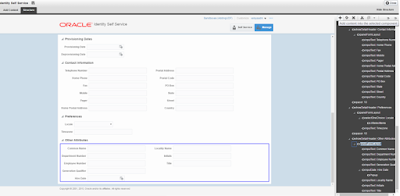
Select the panelFormLayout component, and click the Add icon. The Add Content dialog
box is displayed.

Click on Add icon and Add Content dialog box is displayed
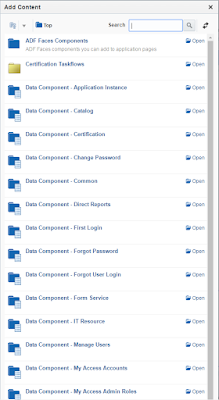
Depending on the area or entity the UDF is added then select the Data Component and View object
For User entity, given some Data Component and View Object
User |
Create User
|
Data Component - Catalog
|
userVO
|
|
Modify User
|
Data Component - Catalog
|
userVO
|
|
Search Users
|
Data Component - Manage Users
|
UserVO1
|
|
View User Details
|
Data Component - Manage Users
|
UserVO1
|
|
My Information
|
Data Component - My Information
|
UserVO1
|
|
New User Registration
|
Data Component - User Registration
|
UserVO1
|
In this example, i am adding the custom attribute on Create User Form so i used Data
Component Catalog and ViewObect userVO
Scroll to find the UDF that you added and click Add. If the UDF is not displayed, then refresh the content by clicking the Refresh icon at the top right hand corner of the dialog box.
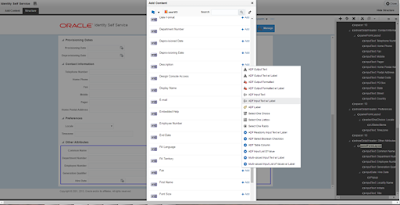
Depending on the custom attribute that you created in creating Custom attributes section and the type of UDF that you want to display, select one of the following items from the menu:
For a UDF of Text or Number type:
a. ADF Output Text
b. ADF Output Text w/Label
c. ADF Output Formatted
d. ADF Output Formatted w/Label
e. ADF Input Text
f. ADF Input Text w/Label
g. ADF Label
h. ADF Readonly Input Text w/Label
i. ADF Table Column
For a UDF of Checkbox type:
j. ADF Select Boolean Checkbox
k. ADF Table Column
For a UDF of Date type:
l. ADF Input Date w/Label
m. ADF Table Column
For a UDF of Lookup type:
n. ADF Input List Of Value (select only for searchable PickList)
o. ADF Select One Choice (select only for non-searchable PickList; this option is not visible for a searchable PickList for which you must select ADF Input List of Value)
p. ADF Table Column (select when adding a column within an af:table)
For example, if you have created a UDF of Text type, then select ADF Input Text w/Label
Click Close to close the Add Content dialog box.
From the object tree on the Editing Page, select the UDF on the page, and click the Show properties icon. The Component Properties page is displayed.
On the Display Options tab:
Select Auto Submit.
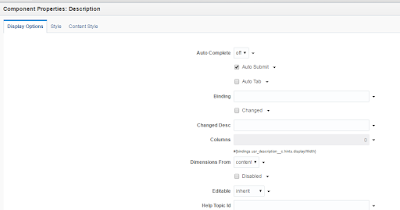
If you have added the UDF on the user form, then in the Value Change Listener field, enter
#{pageFlowScope.cartDetailStateBean.attributeValueChangedListener}.
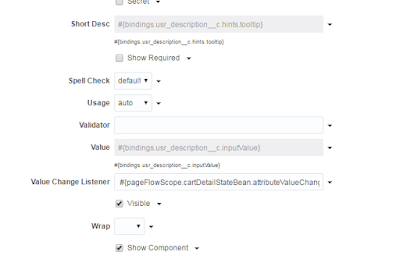
If you have added the UDF on a form other than the user form, then copy the value of the Value Change Listener field from any of the existing fields on the form and paste it as the value of the Value Change Listener field for the newly added UDF
Here are some more properties that you can add based on requirement
If you want to mark this attribute as mandatory, then change the Required and Show Required properties to true. To set the Show Required property, select the Show Required option. In the Required field, select Expression Editor, and in the Expression Editor field, enter the value as true.
If you want to display this attribute as read-only, then select the checkbox for the Read Only property.
If you want to bind this attribute to a custom-managed bean method, then change the Value property.
The custom-managed bean method must include a call to the original method binding. For more information
Click OK.
Click Close to leave customization mode.
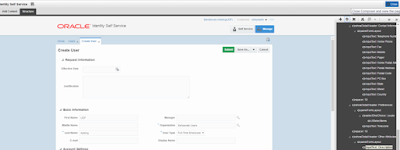
It is recommended that you export the sandbox, in case if you intend to move the change from test to production environment.
Publish the sandbox. For detailed instructions on publishing a sandbox,
Remove UDF
To remove a UDF, you can use the customization mode to open the WebCenter Composer. In the customization mode, select the component or UDF that you want to remove, and then delete it or set the rendered property on that UDF to false.
----Nagaraju Gorrepati
